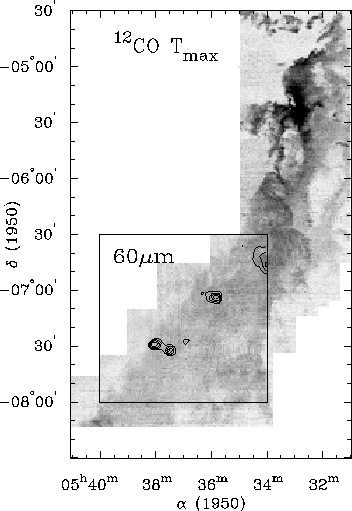
Figure E.12: A plot demonstrating how to overlay different images.


viewport 0.25 0.75 0.2 0.9 # Set viewport size.
expand 1.1                 # Set the character size.
font 2                     # Set the font type.
image orion.fits 1         # Read in plane #1.
winadj 0 nx 0 ny           # Set the x/y scale to be the same.
header rd                  # Read header and set limits.
set \1 x1                  # Save the limits of this rectangle.
set \2 x2
set \3 y1
set \4 y2
halftone 0 20              # Draw the halftone.
image iras60.fits          # Read the second image.
header rd                  # Get the coordinate transfer function.
set \11 x1                 # Save the limits of ...
set \12 x2                 # ...this smaller rectangle.
set \13 y1
set \14 y2
limits \1 \2 \3 \4         # Override 2nd image limits with 1st.
levels 40 60 80 100        # Set the contour levels.
contour                    # Draw the contours.
move \11 \13               # Draw a box around...
draw \12 \13               # ...the limits of...
draw \12 \14               # ...the smaller box.
draw \11 \14
draw \11 \13
box bcnsthz bcnstvdyzf     # Draw a box.
expand 1.5                 # Make the next labels a bit bigger.
mtext T -2 0.15 0 \u12\dCO T\dmax
mtext T -12 0.15 0 60\gmm
expand 1.1                 # Reset the character size.
xlabel \ga (1950)
mtext L 3.5 0.5 0.5 \gd (1950)

Figure E.12: A plot demonstrating how to overlay different images.